Onions - Prepare Ahead & Freeze!
I don't know of anyone who enjoys chopping onions, and I sure know a lot of people who hate it.

I'm one of the lucky few who isn't super sensitive to onions, but it still isn't a pleasant or favorite task.
So I like to get it done and out of the way so I don't have to even think about it for a good long time, just like with my pre-minced garlic.
This onion project gives you a supply of ready-to-go diced onion in your freezer.
I like to even go one step further with the onions and saute them ahead of time too!
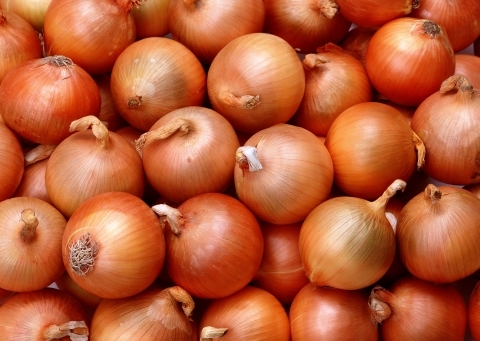
Onions are getting expensive, but they can be way cheaper when you buy huge bags of them!
I can get a 50lb bag for $10 at the wholesale grocery store, but there's no way I can use up 50 pounds of fresh onions before they start to rot!
So I've started to have an occasional day of chopping, sauteing and freezing onions!
I highly recommend adopting this practice if you're able! It can save time, not to mention pain and suffering, by eliminating a dreaded task during daily meal preparation!
You'll be so glad you did! It is SO handy to have pre-sauteed onions waiting for me in the freezer! It makes it so easy to quickly add extra flavor to a crockpot dish, soup, or even to make whipping out a spaghetti dinner even faster!
The biggest problem with this plan is the onion "fumes!" Let me tell you, they build up when you're going through a 50lb bag! (I usually do them in at least two batches on different days.)
Here are a few tips to battle the fumes:
- Do it on a day when it's warm enough to have the windows open for good ventilation. You can even try having a box/floor fan to direct the air flow across and away from your face, or chop near your stove and turn on the exhaust fan.
- Use a sharp knife! A dull knife will bruise the onion more than a sharp one, releasing more of the juices.
- If you're really sensitive try wearing onion goggles. If you don't want to shell out 20 bucks for special ones, try using swimming goggles, or any other eye-protecting gear, (the kind you might have for running electric saws and such.)
- Cut the onion so that there are the least exposed cuts possible while you're working. Keep reading for tips!
- Chill the onions (not so practical if you're planning on doing 25lbs or more!) Cold onions will not release as much unpleasantness.
- My favorite: Use this onion chopper!
Seriously, this is one the best ways I ever spent $10. It makes the whole process so much quicker, besides blocking a large percentage of the "fumes" from getting released into the air!
It chops the onions into perfect little pieces, too! The small size is especially helpful for sneaking the onion flavor into dishes for children/husbands who "don't like onions."
Begin!
Set up your work station.
Make sure to have a container you can put a lid on in between choppings to keep the cut onions, so they're not adding to the onion-air.

Chop the tops off 3-4 onions, cut them in half, and peel them, (leave the root end intact if you're going to be dicing with the knife!)

For Knife-Dicing:
Slice the onion lengthwise, being careful to not cut all the way through the root end!

You want that root end holding it all together still!

Then chop crosswise to dice. No sliding around, trying to hold onto all those slippery chunks of onion while trying to prevent diced fingers!

If you're using the chopper:
Quickly slice both ends off the onions and slice them in half.

Peel, and slice into quarters, (depending on how big your onions are, you may be able to keep them as halves.)

Pop them in your chopper and:
Slam! Bam!
This would be a pretty awesome project to have your young son(s) help you out with. Something about the way you slam the chopper down is very satisfactory to the male soul.

The chopper comes with a handy little comb to clean out the grooves when you're done. (Don't lose it!)

When you've got a good amount chopped, start heating your pan for the sauteing.

I use a little oil in my cast-iron skillet, (I find cast iron gives them the best carmelization,) I usually use canola oil, because it's cheapest, but you could use butter, olive oil, or even coconut oil.
Get them nice and brown, but not burnt. Unless you're into that Smoky Mountain flavor.

I keep a bowl that I dump all the cooked ones into, and as they start to cool, I transfer them into freezer bags in amounts I will use.

You can also shape them into discs on a cookie sheet, freeze them, and then pop them off into a big container or one bigger freezer bag. (Especially sensible if you want lots of small amounts frozen.)
Now, enjoy the satisfaction of knowing that you don't need to chop onions again for weeks or months!
Linking up here:




Labels: kitchen tips
posted by Mama Chocolate @ 3:58 PM
3 Comments